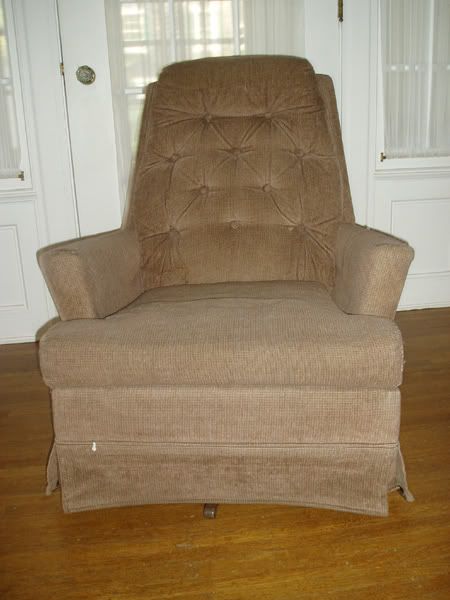
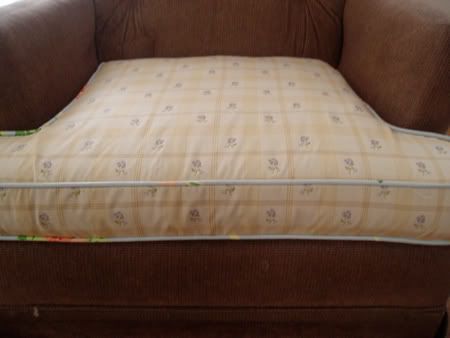
Ok, so first I have to say that I did it. I DID IT! I am both proud of myself and a little surprised that I was able to pull it off. Two days – one of which I completely made the slipcover – minus the zippered portion – I bought that today.
So, if I can do it – you can too. I will help you. If you have any questions, just ask.
So the first thing you need to do is what they call blocking – which is just a fancy word for making very rough pattern pieces.
For the first piece – you will want to measure from the back of the chair (or where you want the seam) down to the base of the seat after the cushion has been removed down to the front of the seat and then down the front to where you want the skirt to start it you are adding one.
Now take this number and add 12” – 10” for the tuck in (the part you will literally shove into the back “crack” of the chair) and 2” for the seam allowance. For the width, you will need to measure the front of the seat portion of the chair – you will be wrapping the fabric around the front and add 2” to the width. You can also just lay it out over the front and measure this way. When you go to cut out the fabric –fold it in half and determine the center point. Do the same for the next piece so that the patterns match up – if you need to.
For the back – measure from the seam at the top of the chair (where the front piece started), down to the skirt. Also measure the width. Add 2” to both of these measurements and cut out the piece.
Now when I first started this project – I was going to only have one seam at the top of the chair –I sewed it and pinned almost half of it before realizing that the slipcover was going to look “cheap” for lack of a better word. I redesigned it so that there would be a panel insert starting at the front of the arms running along the back and then down the front of the other arm.
FYI -If you read slipcover books – they say to “block” all of the pieces first, but frankly I found it easier to cut the pieces out as I went. I followed the existing seam locations of the original chair – which totally made it easier to sew and line up the pieces so that they would fit.
Back to the directions.
So the insert piece was longer than the width of the fabric which is 54” (typical for home dec fabric) so I cut two pieces wider than I needed and sewed them together with the patterns going in opposite directions at the seam. This way, the fabric would be running the correct way up the arms and around the back to the center on both sides.
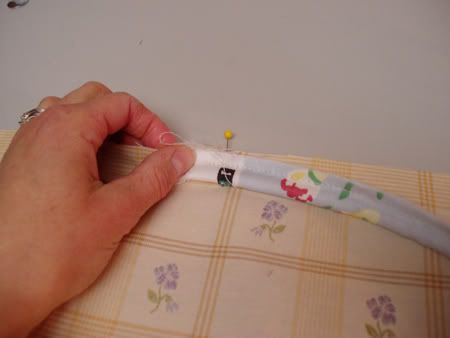
If you want to attach piping – now is the time to do it. This gives the slipcover a designer look with the contrast welting on either side of this insert. If you have the time, do it because it will make a world of a difference.
Now sew the back piece to the center of the insert piece. If you can, try and line up the fabric.
Sew the front piece - lining up the centers again and now the fun starts.
Line up the pieces to the chair but now place them on inside out. Pin down the fabric to the center of the chair and line up any landmarks. Make sure it is really secure – this will ensure a snug fit. Pin the back portion of the chair (the part where your back would go) to the insert making a pleat if you need to at the corner. Pin the rest of the back portion to the insert down the chair to the tuck in portion (the crease where the seat and arm meet).
Cut out the inside arm piece and 3” for the tuck in. Before pinning this section – make sure you make the 5” tuck in (really a total of 10”).
Fold over the fabric where the side tuck in will be and lay the bottom portion of the inside arm on top of it and pin.
I know – it looks like an orgy of fabric of pins – but this is what it’s supposed to look like.
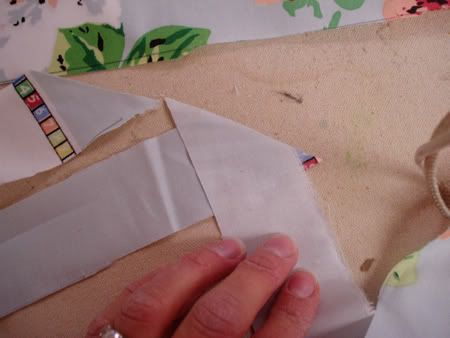
Moving down to the bottom of the chair – take the fabric and lay it out in front of the chair and around to the side. Pin the fabric – it will look like a triangle piece sticking out. Pin it and then cut the excess fabric leaving a 1” seam allowance.
Where the bottom of the welting piece (front lower part of the arm) meets the part to the top of the piece you just created you will need to wha? Yes that's right- pin some more. This was a complete B*tch. I had to take this apart a few times to get it right. You will have to fit it again after sewing it to make sure it looks good.
Do this to the other side – Sorry. I know, it's a lot like torture.
Cut the piece for the outside of the arm and attach it to the insert piece and the front corner piece of the chair.
Cut the piece for the back side pieces if you need to. Pin and pull the fabric to ensure a snug fit and repeat.
Now pull the entire thing off the chair and try and figure out where to sew it.
I now I just sat and stared at it for a while swearing under my breath (D*mn squared to be exact) trying to make sense of it. I finally decided to pick a part where there were pins and starting sewing. This worked for me until I got to the end of the seam.
Repeat swearing and start and sewing some more.
Once you think you have sewed everything – check it again because there is probably a bit you missed. It happened to me.
Now the rewarding part; take the slipcover and slip it over the chair with the correct side out this time. Check it to see how things are lining up and make any necessary changes. Yes – you will need your seam ripper or stick pin if your seam ripper has been swallowed up by your sewing area. No comment.
You will want to leave one side of the back portion of the chair un-sewn – this is where you will put the zipper.
Once everything has been fixed – now you can start thinking about the skirt. I chose to make a simple gathered skirt – no math and simple gathering. Measure from the bottom edge of the new slip cover to the floor and add 1”: ½” for the gathering seam and ½” for the seam. You can make a larger hem if you want. That’s up to you. Measure around the entire base of the chair and multiply by 1 1/2 or 3. (1 1/2 times will be a subtle gather - 3 is a very full gather. That's up to you.
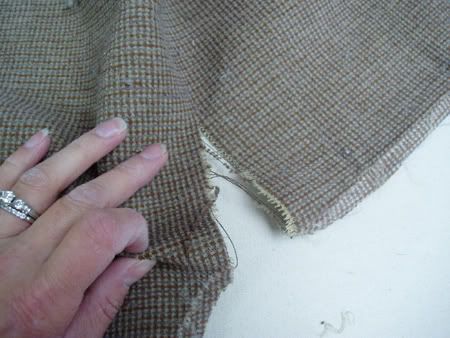
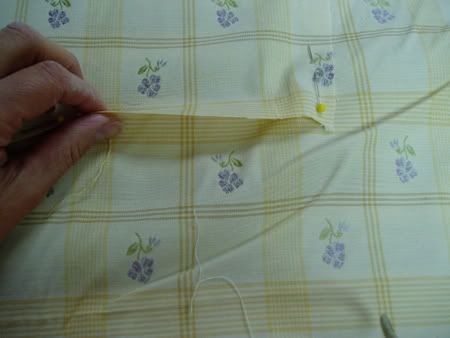
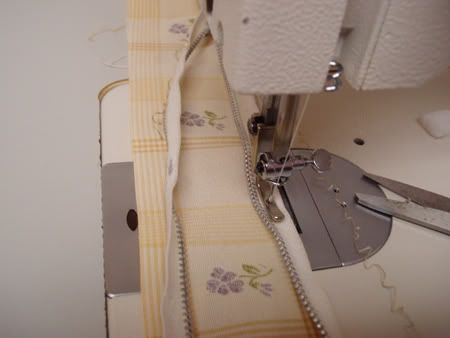
To create the gather stitch, I choose to use this technique.
TIP Use the zig-zag stitch and run a thicker thread under the stitch. Just line up the thread under the needle and the gather thread will automatically been sewn down. This makes it a lot easier to gather and you will be less likely to break a thread. Hoorah!
Fold the skirt piece in four equal sections and notch it. This will help you ensure an even gathering around all four sides of the chair. I notch it to make it easier to find later. Match these notches up to the four corners of the chair and pin down. Now you can start gathering. TIP Make sure you sew the gather thread to the wrong side of the fabric – not the correct side. This way when you go to gather it, you will be able to see the thread. I can’t tell you how many times I have put it on the correct side of the fabric only to have to dig around for it when I go to pin it down. Pain in the a**.
Evenly gather the fabric between the notches and pin it down. Now sew it down and you’re done.
Well… that is for the zipper. I have not done it yet –but when it’s done I will post it.

 Speaking of knitting - Vickie Howell - is airing a brand new podcast. You should totally check it out (I know I am). It airs weekly and features different guests.


